

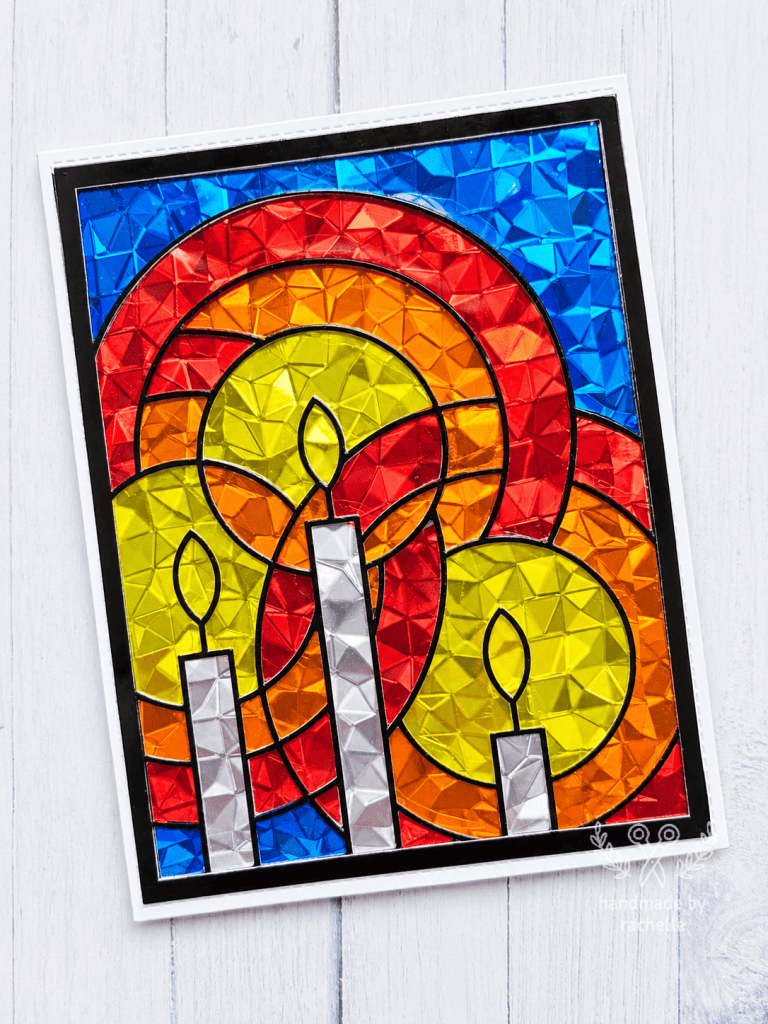
I absolutely love the way this card turned out… but it was basically a nightmare to get to the end result. This card idea came from a video Jennifer McGuire did during Stamptember this year and it’s easy to see why her design was so popular. I think the stained glass look is beautiful and her version of making this card was a mostly quick and easy process. So I decided to give it a try…
The way that Jennifer made this card design was to cut the frame piece out of black, attach it to a piece of acetate, turn the acetate over to the back side, and then color the acetate with alcohol markers. Then when you add the holographic cardstock to the background, the colors on the acetate show through and make it look like stained glass.
I followed that exact method to make my first version of this card, but the thing that I just could not get past was how messy the card looked to me. I really did not like how you could see all the strokes of the marker within the colors. Maybe when someone is looking at the overall card it’s not completely noticeable but as soon as you look closer at any spot, you can see those marker scribbles. And I tried to color as neatly as possible to avoid that look but with alcohol markers on acetate it was just kind of inevitable.
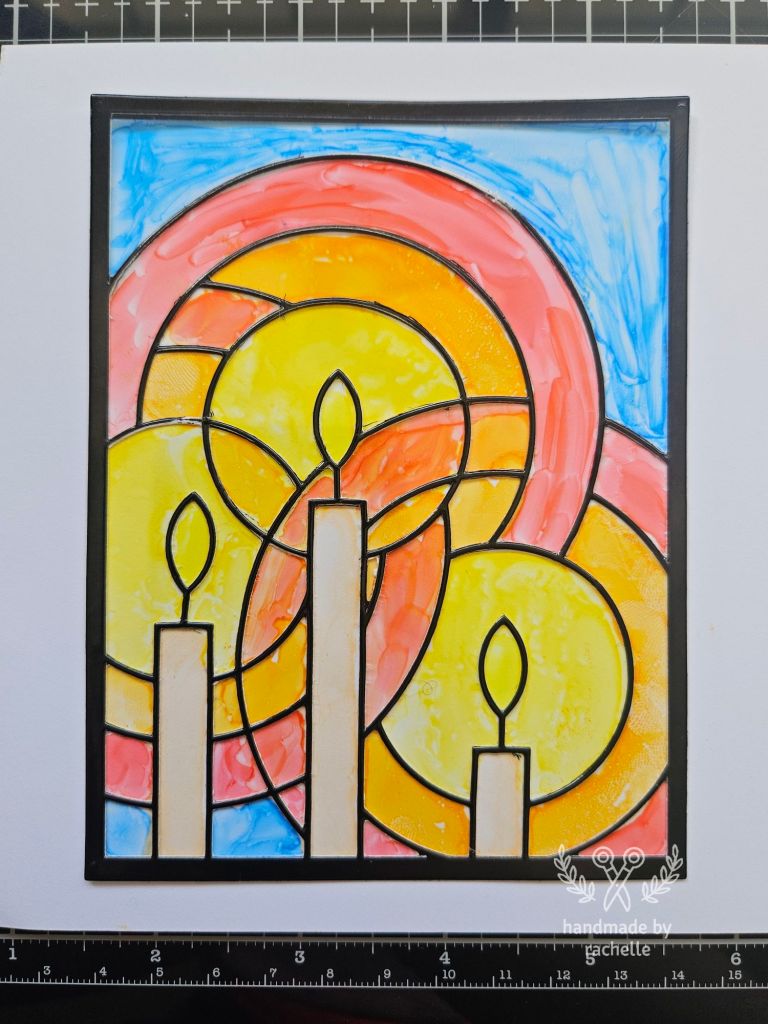
You can see those scribbles clearly without the holographic cardstock, but even when I put the holographic piece behind it I still felt like the messy look was too visible.
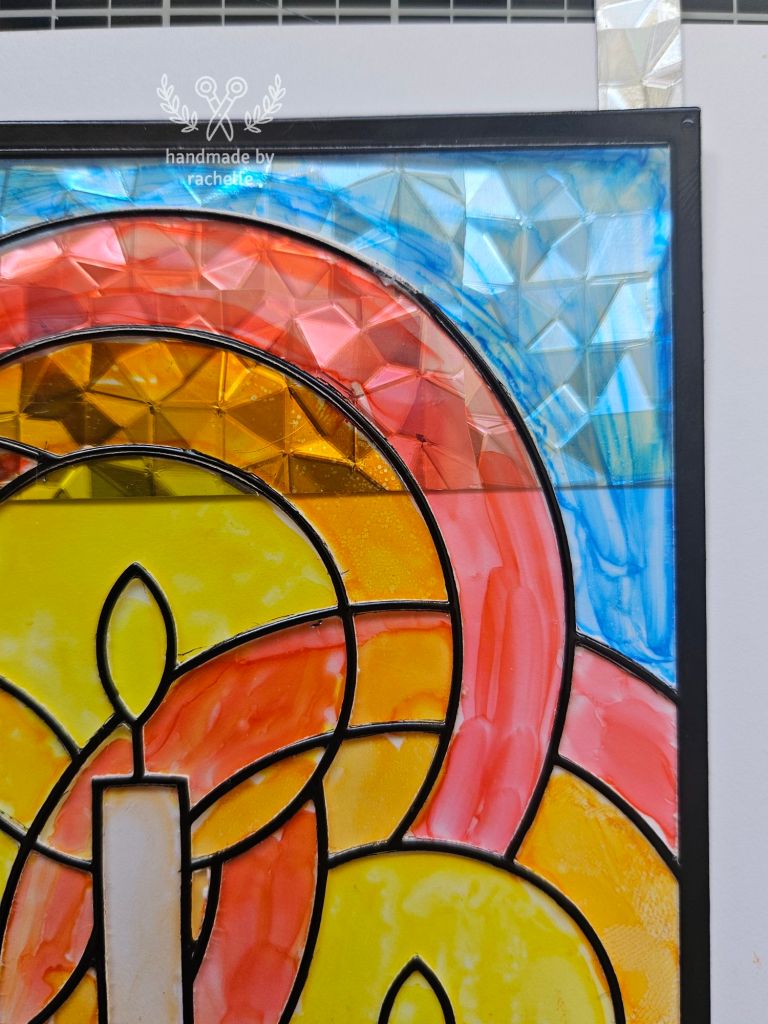
So since I was not completely satisfied with that look, I decided to try and use colored acetate. That way I would avoid all the streaks from the markers but it would still add color and allow the holographic cardstock to show through.
I got these colored acetate sheets from Michael’s:
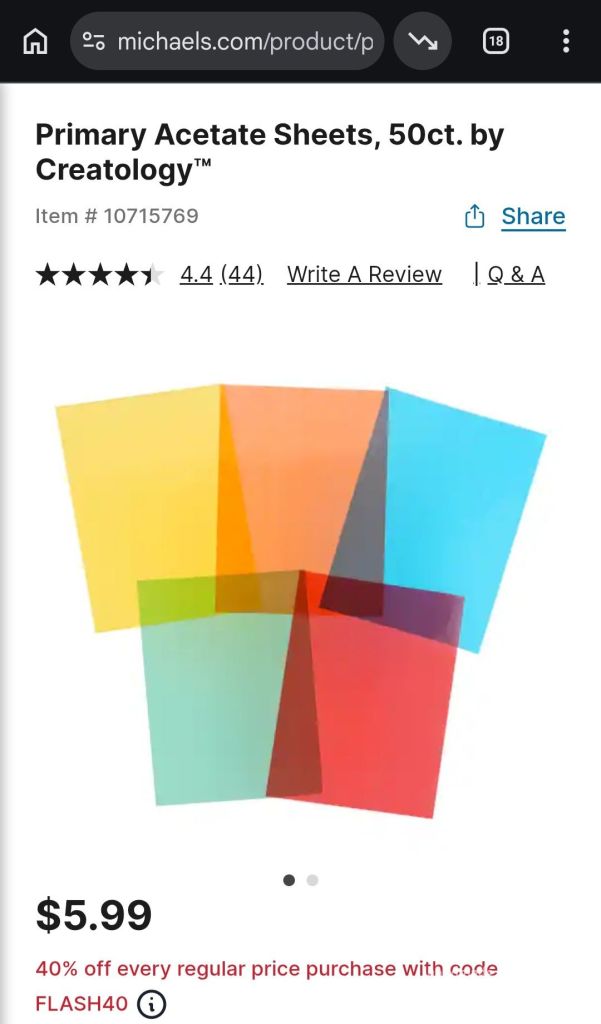
Using these sheets wouldn’t give me a wide range of color shades but it did have all the main colors I needed so I decided to try it.
I felt like the blue areas had some of the worst streaks so I decided to try covering those areas first. I used liquid glue to attach the colored acetate to the top of the clear acetate, which was a bad decision on my part because of course it just made everything look cloudy. I also felt like the colored acetate was a little too dark and that it covered up the shine of the holographic cardstock too much.
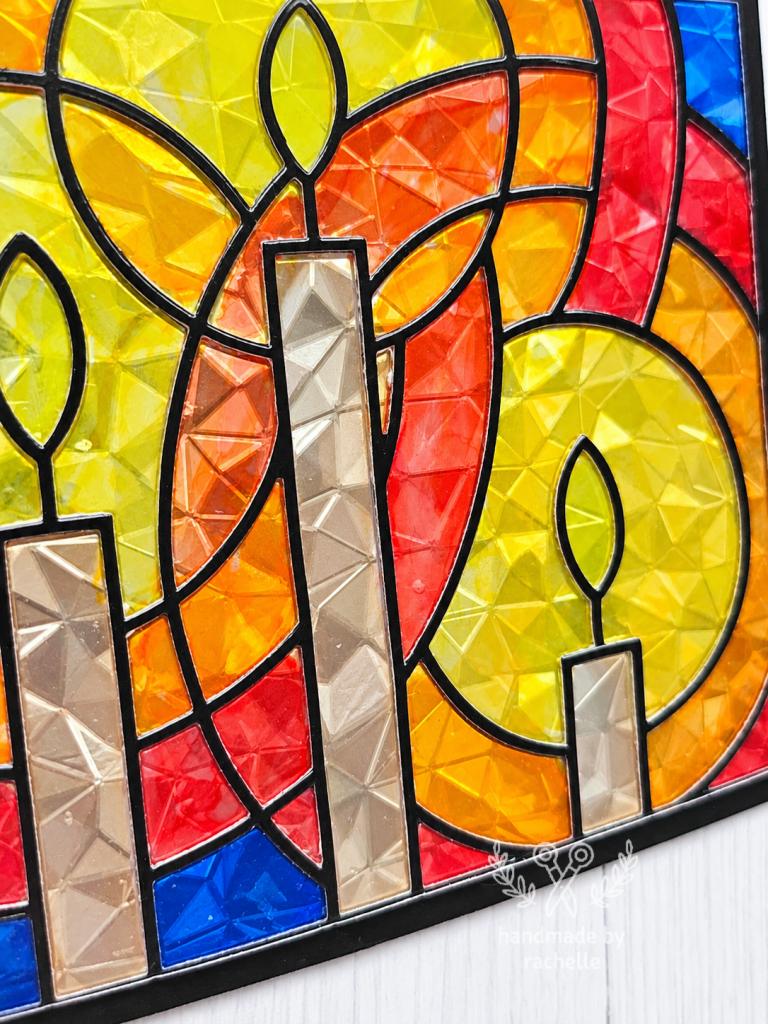
So THEN I decided I would try to add watercolor to the clear acetate instead. I had watched a video where someone did that and it looked fine and I thought that could be a good way to add color without the marker streaks. But when I tried that method it literally added no color at all, so it didn’t work out for this project. I even tried to color with markers first and then add watercolor over it to cover up the scribbles but that did nothing.
At that point I was pretty frustrated with the process so I figured I would just follow the original method and try to color the clear acetate with markers again. But when I tried it a second time I had a really hard time getting the colors to look bright and vibrant. Any shade I tried, they just looked dull.
Finally, I pulled out the colored acetate sheets again and decided that only the blue would be a little dark but the other colors would be light enough to show the shine of the holographic cardstock just fine. And I also tried using glossy accents as the adhesive and that allowed me to attach them without clouding up the color, so that was enough for me to forge ahead. (And honestly in the end I don’t even think the blue color looked that dark!)
So now I had my method. I cut the frame in black glossy cardstock, attached it to a clear piece of acetate (using double sided adhesive to make it a sticker), and then cut pieces of the colored acetate sheets with that same frame die. Then I took the colored acetate pieces and inlaid them over the top of the frame, and then added the holographic cardstock to the background.
After all the annoying parts of this process, this was at least something that worked. I had that beautiful stained glass look from the holographic cardstock and I had color in the areas I wanted without all the messy marker streaks. The hard part was that the acetate sheets were very tricky to work with. A lot of times I would try to pick up the piece I needed only to have it tear in the wrong place, so then it would be the wrong shape and wouldn’t inlay correctly. Luckily there were a bunch of sheets in that package from Michael’s because I had to cut several of them multiple times to get the pieces I needed.
After a lot of frustrating work, I finally had 3 cards that were inlaid with the colored acetate pieces. That was great… except that a lot of the acetate pieces were sticking up on the edges or not completely flat because of how difficult it was to get the pieces to cut out correctly. And I had tried to use only a small amount of glossy accents so that there wouldn’t be a lot of adhesive showing through in places, so they weren’t completely stuck down everywhere. I had thought about attaching the colored acetate pieces behind the clear acetate instead of in front of it, but with the pieces being so wonky it just would have been even harder to get everything lined up and looking good.
I knew I needed to add something to the top of them so that someone wouldn’t run their hand over the card and accidentally pull up the acetate pieces, so I got some full sheet shaker covers. I figured that would allow me to cover the whole design and only add adhesive to the back of the card front, where the shaker cover wraps around and gets attached. In theory this was a good idea, but when I tried it, the shaker covers were really cloudy. I don’t know if I just had a bad brand or what, but there was NO way I was going to cover up all of that work with a big cloudy piece that would hide all the shine. So that was yet another thing in the process that did not work.
At this point the cards sat around unfinished for quite a few days. I had to stop and come back to them several times throughout this whole process but that was definitely a point where I needed a break from them.
Eventually, I decided that I needed to cut another piece of clear acetate and add it over the top. That would give me a smooth cover that would still allow all of the color and shine to show through. Attaching it to the card front meant that there would be adhesive showing around the border, so I ended up using 1/16″ double sided tape to attach the acetate cover, and THEN I cut another black frame with glossy black cardstock, trimmed off the inside parts so that I was left with just the frame, and added that black frame as the final layer over the very top. And finally, finally, finally, the cards were done!
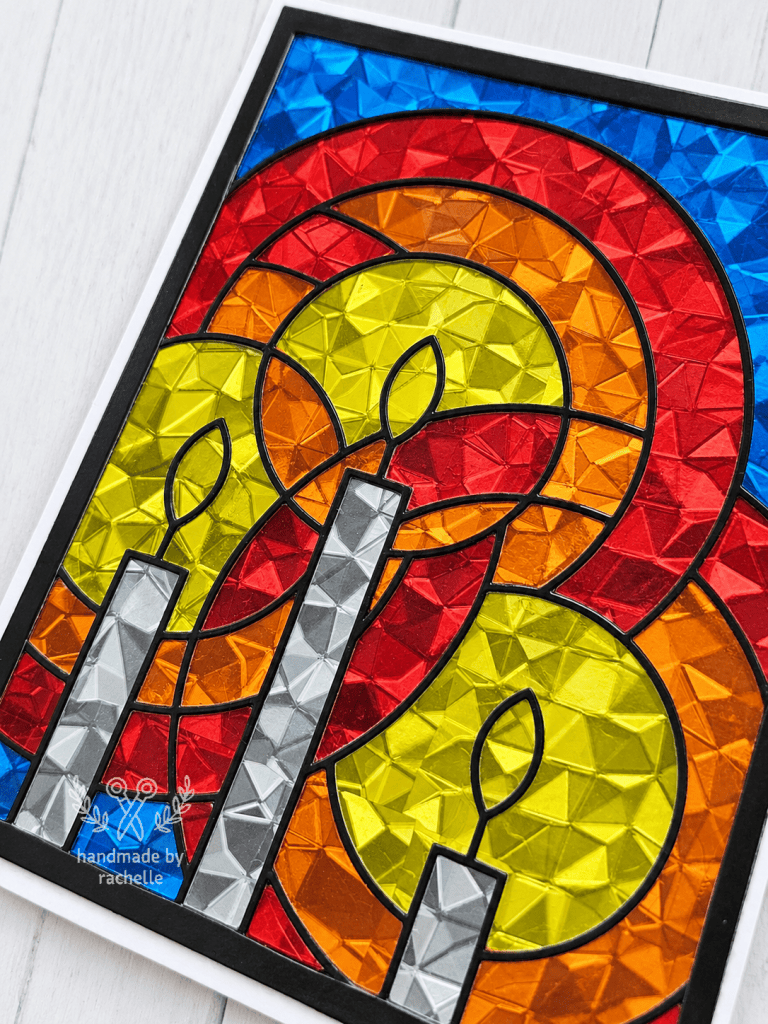
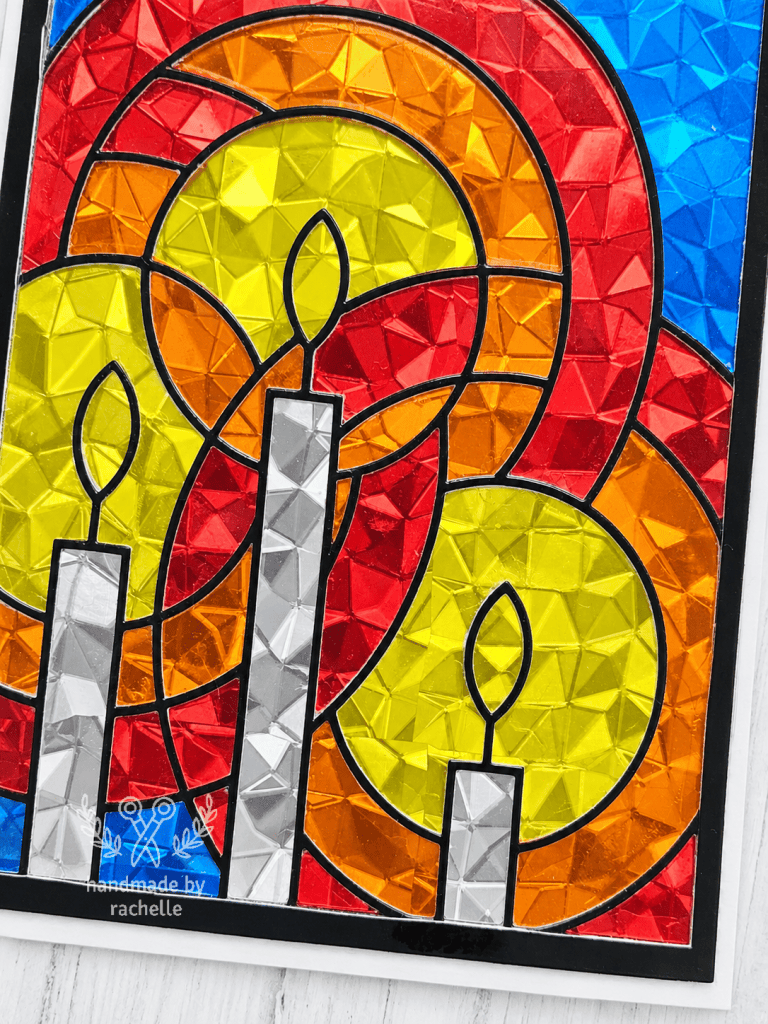
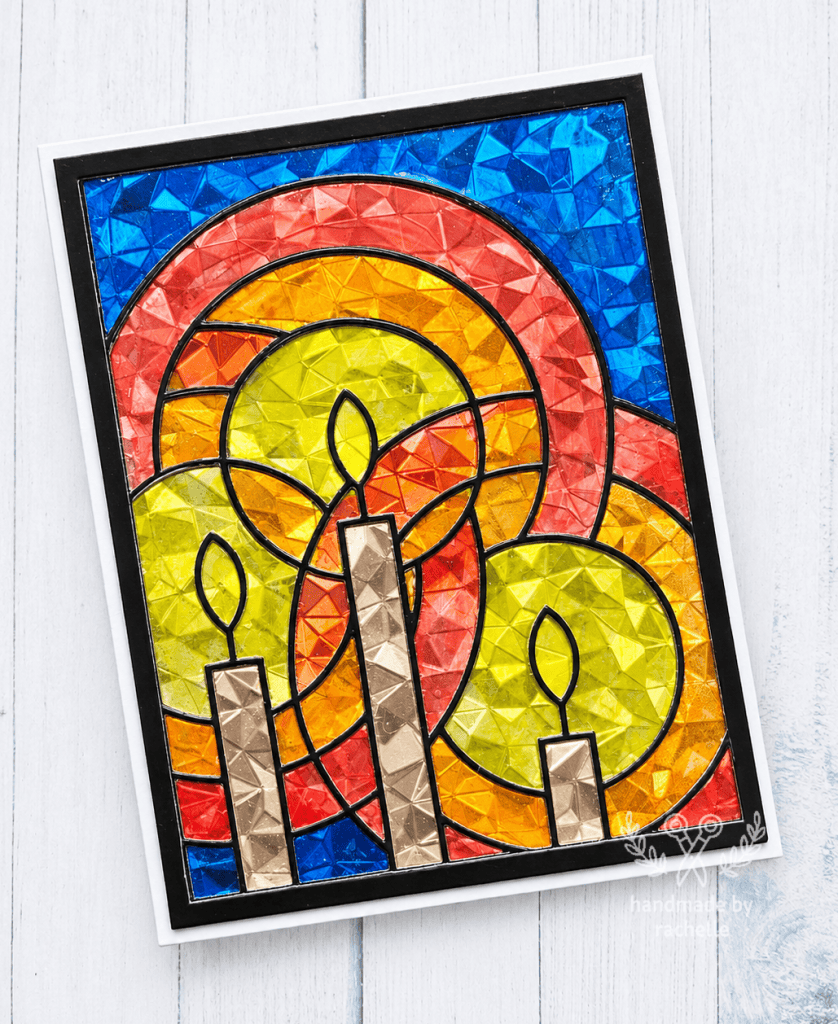
Here’s a comparison between the card with mostly marker coloring (and blue acetate) on the left, and the card with all colored acetate on the right:
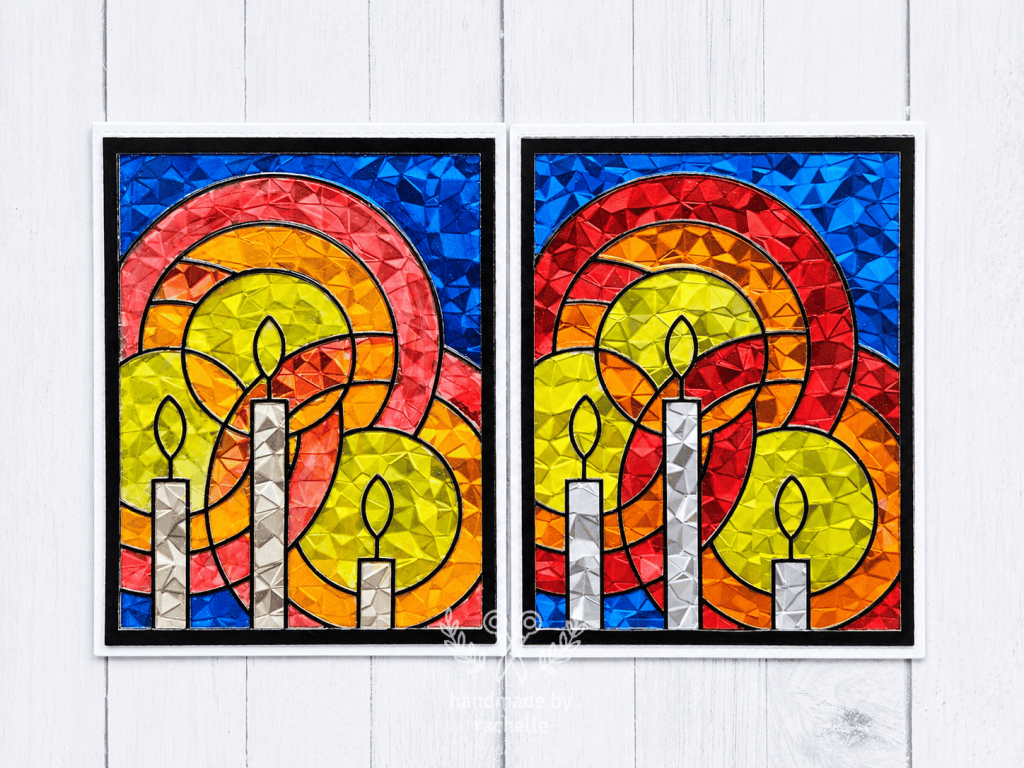
I just love how vibrant the colors are with that colored acetate! I am still going to send out the card on the left because it was a lot of work to make it and I’m hoping that maybe people won’t look at the details too closely.
Out of the 4 cards I ended up with, I have one with the marker coloring, one that had a weird spot of glue or something behind the acetate, one where the black frame didn’t cut out perfectly evenly (pictured below), and one that I actually like. 😂
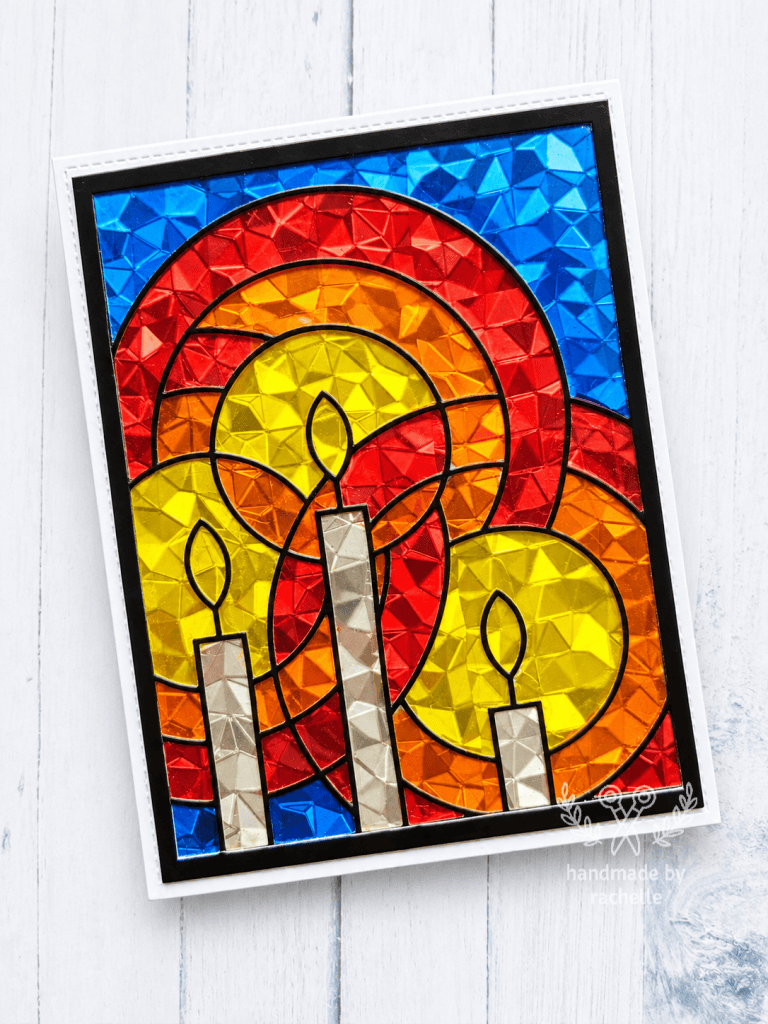
Between all the trials and errors and having to take breaks and think about ideas, it really did take me 3 full weeks to finish these cards. You have to wonder if it was really worth all that trouble in the end! I do like the design and I think it turned out to be a pretty card, and I know at least 1 or 2 of these recipients will actually keep the card and not throw it away, but I don’t know that I’ll ever want to make this design again. Jennifer probably had the right idea in doing this the simple way!
I’ll just enjoy the card while I have it and then I’ll enjoy giving it away. 😊
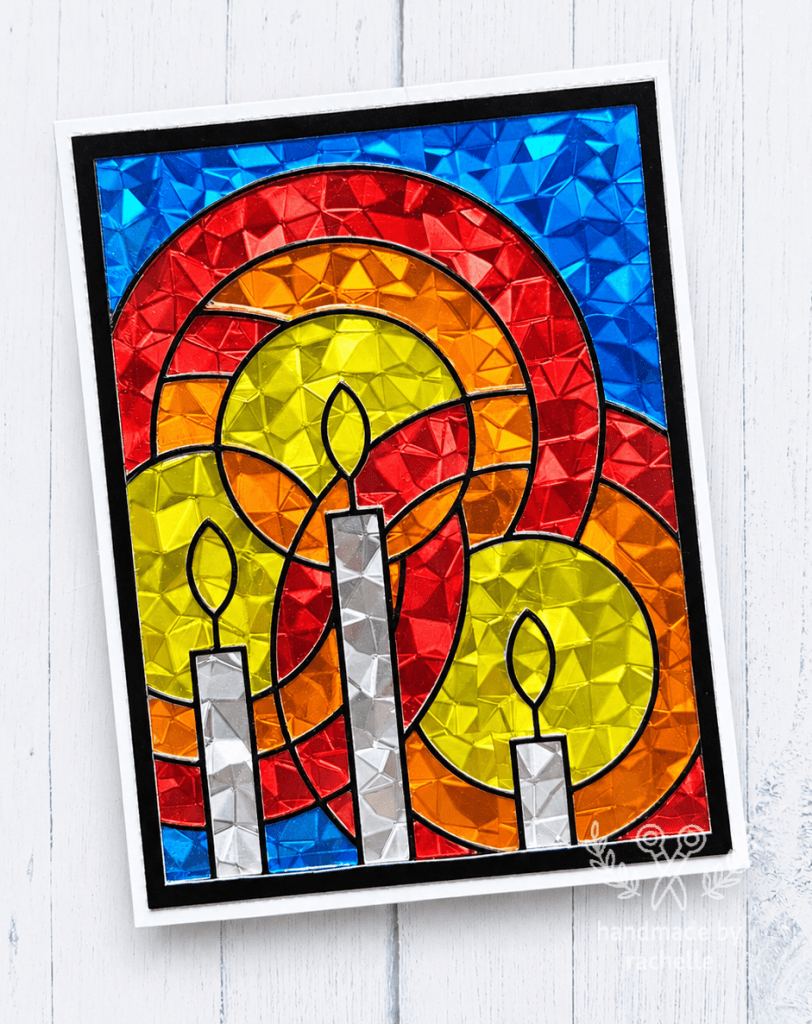
Materials used:
- Large Stitched Rectangles
- Candle Cover from Simon Says Stamp
- Black glossy cardstock
- Clear acetate
- Double sided adhesive sheets
- Geo Square Holostock from Brutus Monroe
- Colored acetate sheets from Michael’s
- Glossy accents

