
Anyone who crafts knows that keeping your supplies organized is an ongoing process. I know I have to continually reassess how I have things stored. There are some things that I’ve bought more of that need more space, and some things I’ve realized I don’t use and have gotten rid of. I just recently made a few big shifts in where certain things are kept and I am loving it so far.
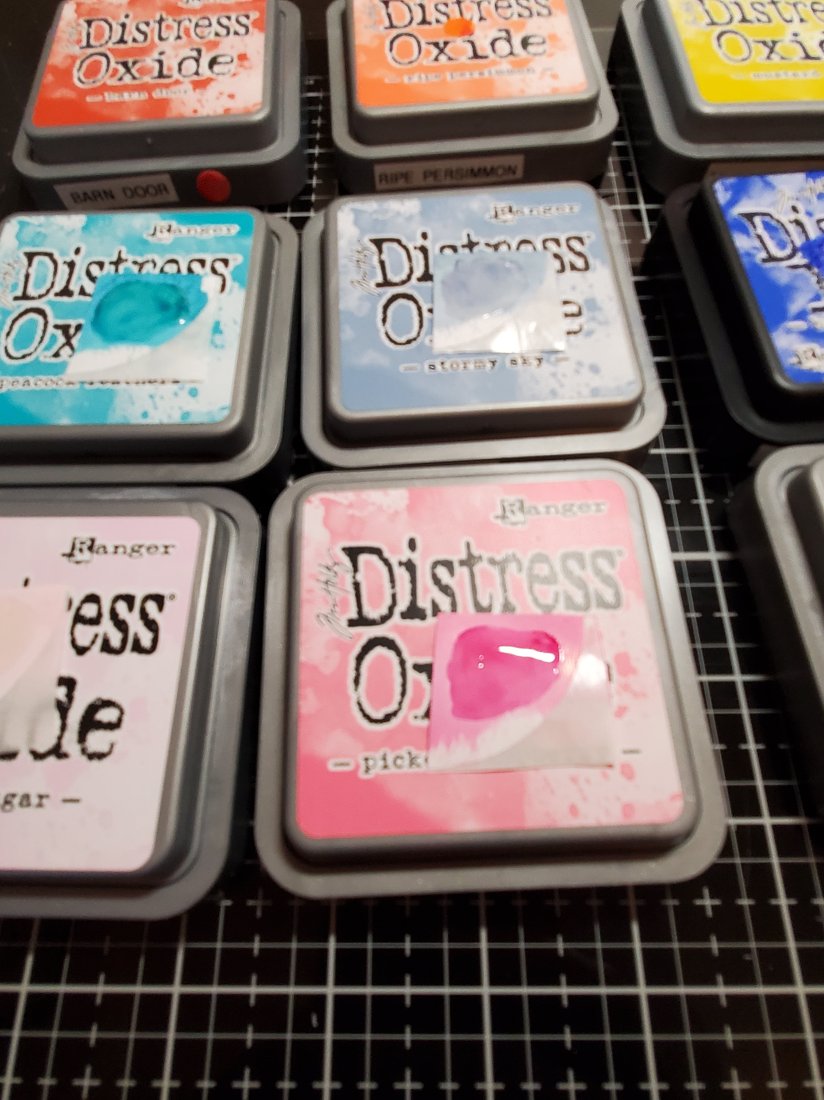
One of my recent changes has been to give my distress inks their own shelf. I had them kind of tucked away in a cubby, but as the collection grew, it became more and more cumbersome to pull them out and find what I needed. This was especially tough because I could only see which ink was which by viewing the top of each one. So if they were stacked, I had to go through the whole stack. It’s frustrating that the manufacturers of these inks don’t make the bases with the name and color printed on them. Or at least that they don’t sell a sticker set or something similar to help people easily label them on their sides.
Anyways. Since my inks were going on a new shelf and I would still be viewing them from their sides, I decided it was time to label the side of each ink pad, and I figured while I was at it I would add a color swatch to each one too.
To do this, I took some round white labels I bought on Amazon, cut them in fourths, and inked them up with each ink. After the ink had dried I covered each one with glossy accents. And once that dried I cut a circle out of each one using the smallest bubble die from Lawn Fawn’s Rub a Dub Dub set. Since they were labels they already had adhesive on the backs, so I was able to take that tiny circle and place it right on the side of my ink pads. A perfect little color swatch!


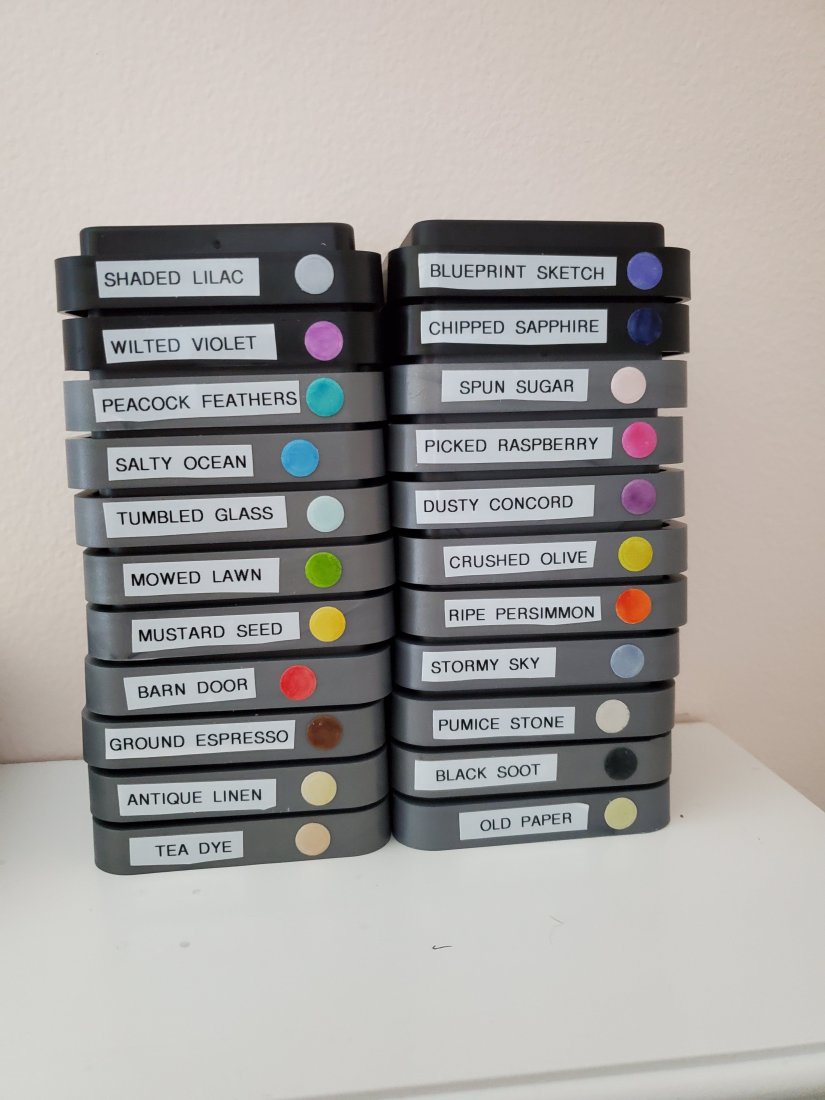
So satisfying! Even though I wish I had cut the name labels a little straighter – oh well!
Next I want to organize my adhesives better. It’s really proving to be a challenge when they come in so many different forms!
