
This was a design by Elise Constable that I had so much fun recreating. I personally don’t own a Stamp Wheel but I was able to achieve the exact same results with this easy DIY method and that was very exciting to me. (See below for step by step details!) I am all for saving money and not cluttering up my craft space with another tool. And I will definitely be using this technique again to create a wreath or any other design in a perfect circle.


Here’s how I stamped the wreath:
First, I created a template. I knew my design was going to be stamped on the smaller square on my card, so I took a Sizzix Sticky Grid Sheet and I used that same square die to cut out a square. It helps to use a grid sheet so that you can line up the die evenly. It would have been nice to have a regular grid sheet and not one that was sticky but it was all I had on hand, and it worked just fine. I took the cut-out square piece and threw it away, and kept working with the sheet that had the negative space.
Next, I took that same square die and rotated it 45 degrees on my grid sheet, and I cut it out again. This is where the grid really helps you line everything up perfectly. Now I had my finished template, which was a grid sheet with an open cut out shape in the middle with lots of points.

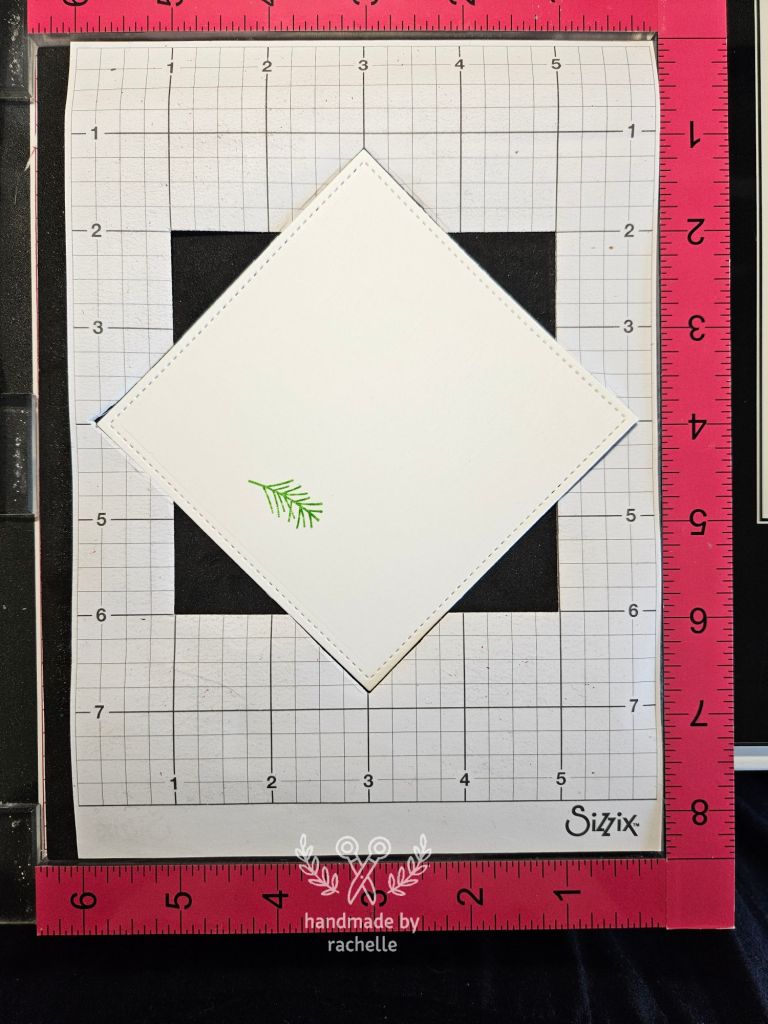
I took that grid sheet and placed it inside my MISTI. It was nice to use the Sizzix sheets because they’re already perfectly sized to fit inside the MISTI without moving around. I then placed my cardstock inside the template, placed my wreath stamp down where I wanted to start the design, picked it up with the door of the MISTI, and inked and stamped it like normal.

Then I picked up my cardstock and rotated it 45 degrees so that it fit perfectly into the other cut out position in the template.
I inked my wreath stamp and stamped with the door of the MISTI again like normal.

I continued to rotate my cardstock and stamp the design so that in total I had done this 8 times, which meant the cardstock had been rotated in a complete circle.
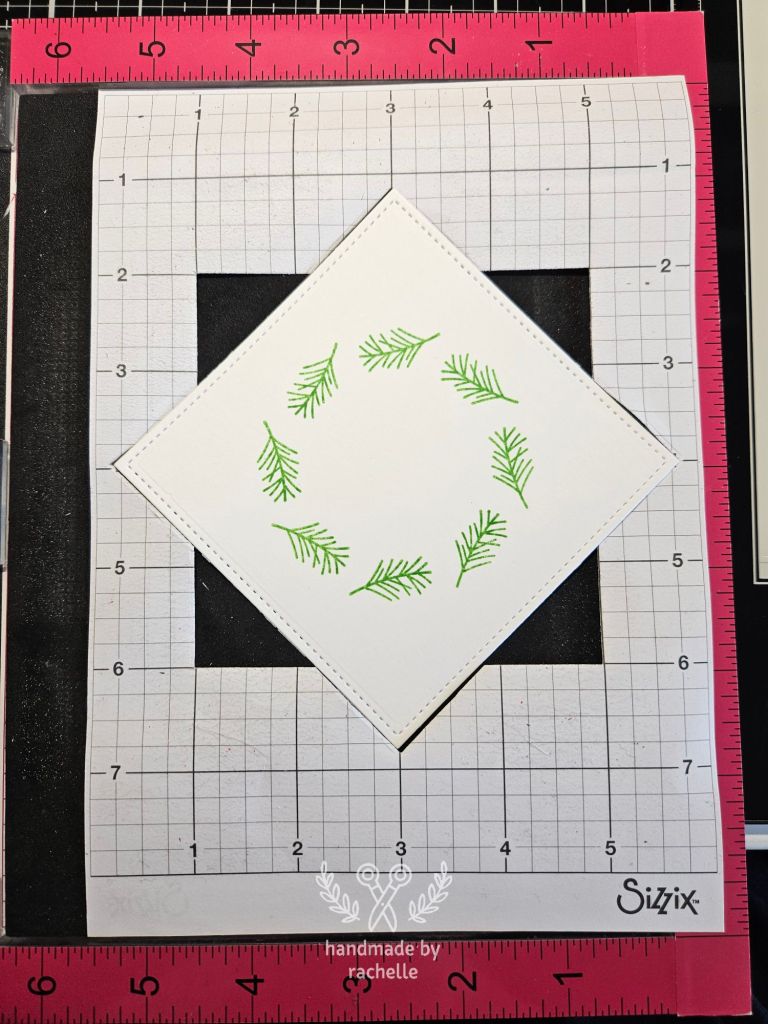
Then I placed my cardstock back in its starting position, removed and cleaned off my stamp, and placed the stamp in a new position on my cardstock. I put it close to the design that was already there so that I could build up the look of the wreath.
I repeated the same process, rotating the cardstock and stamping the image 8 times to complete the circle.
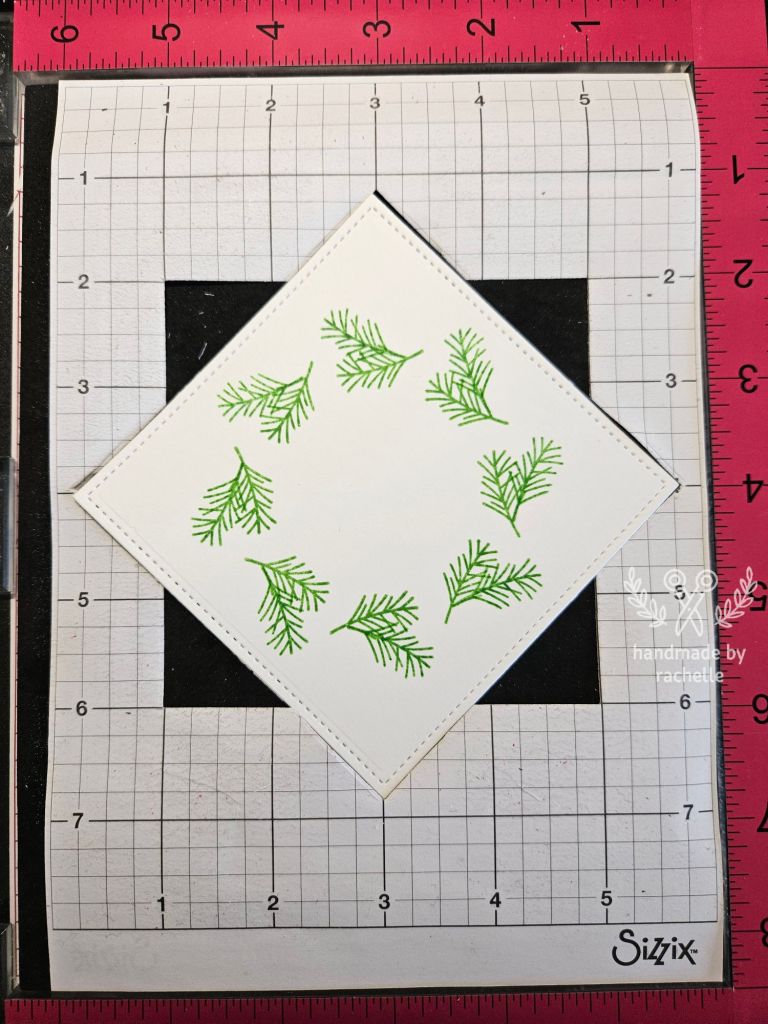
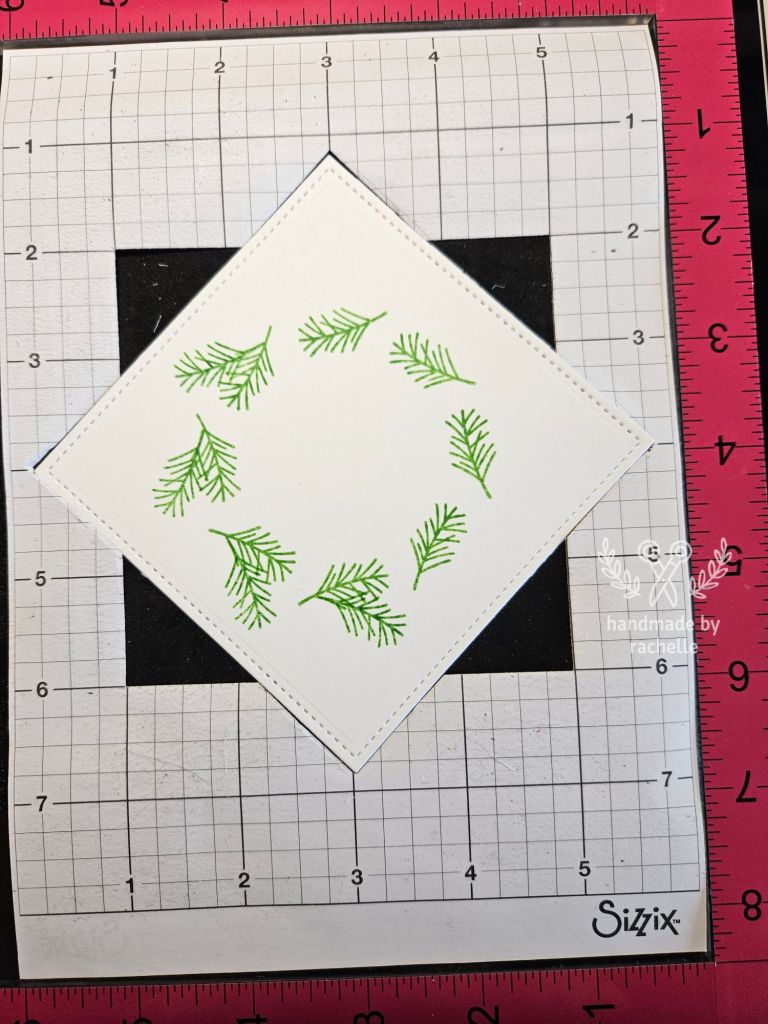
Then I placed my cardstock back in its original position, removed and cleaned off my stamp again, and again placed it in a new position. This time I started to fill in the gaps between the design that was already there. I followed all the steps above twice to stamp the wreath in a new color of ink, and the end result is a complete wreath that is stamped in a perfect circle.

If you want to see a video of this idea, this one helped me visualize the process: https://youtu.be/Zh9OOgS7hWw?si=FJq_cE5jxU6Yw0xe
After stamping I blended some Twisted Citron distress oxide ink over the wreath area and I think it ended up looking great.
I made 3 cards in this same design and I experimented with how I placed the wreath stamp on each one. The differences are subtle but you can see how you can create a wreath that looks a little tidier or a little wilder depending on how you place the stamp. My favorite ended up being somewhere in the middle, the card on the top right in this picture:

I’ll definitely be making this card design again because I really liked how it turned out!
Materials used:
- Large Stitched Square Stackables
- Noble Fir cardstock
- Small Stitched Square Stackables
- Sizzix Sticky Grid Sheet
- Jalapeno ink
- Noble Fir ink
- Winter Birds
- Twisted Citron distress oxide ink
- Black Licorice cardstock
- Everyday Sentiment Banners
- White embossing powder

1 thought on “DIY Perfect Stamped Wreath”