
This was a brilliant design by Marine that I made last year and decided to make again this year. Here was last year’s post: https://handmadebyrachelle.com/2023/01/06/ugly-and-bright/
And this year’s card:
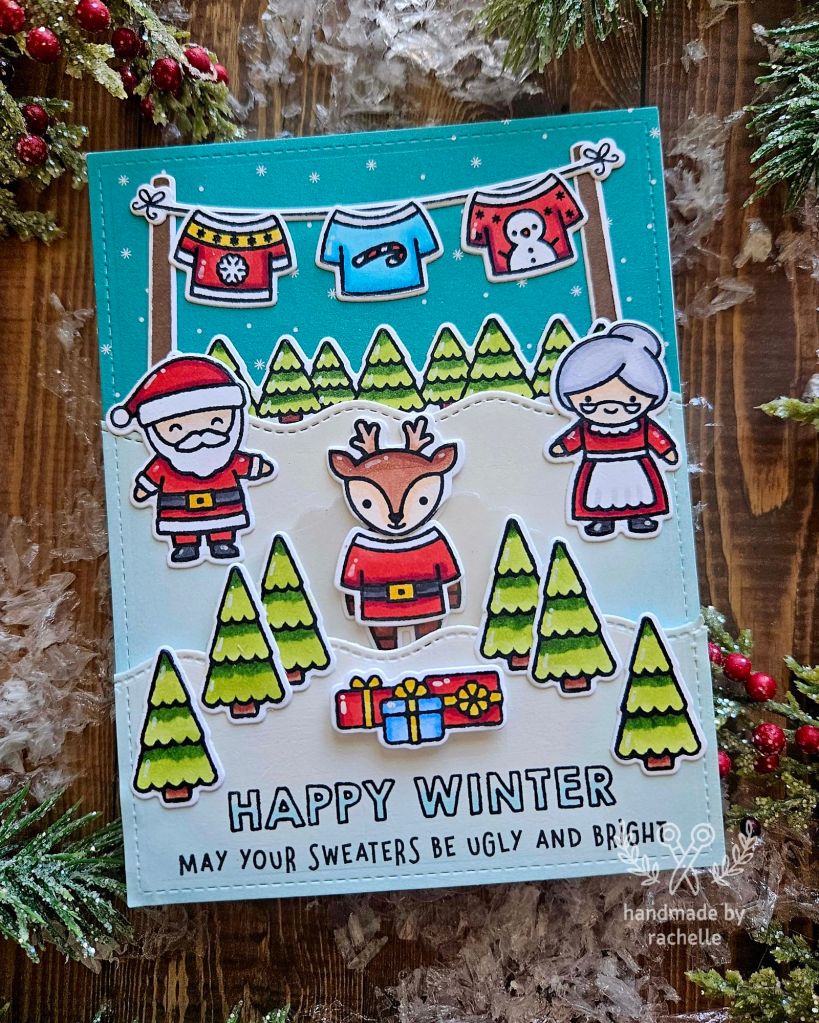
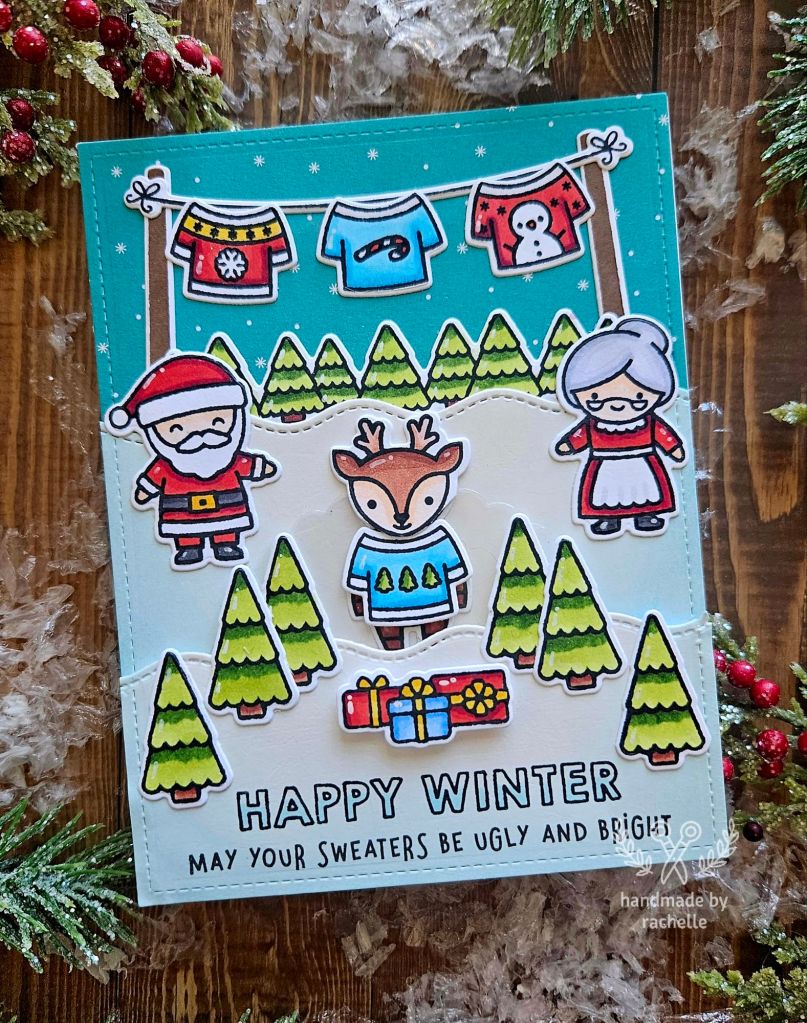


I liked the smaller trees I used this year. I think they look better than the giant tree on last year’s card.
I took notes on the process of making the reveal wheel part this year and hopefully it will translate here without being too confusing.
I laid the pieces down with the acetate reveal wheel hanging a bit off the bottom of the card, since that’s how it would eventually be placed in order for the recipient to turn the wheel. This was how I figured out how tall to cut the snow border piece on the left in the picture below.
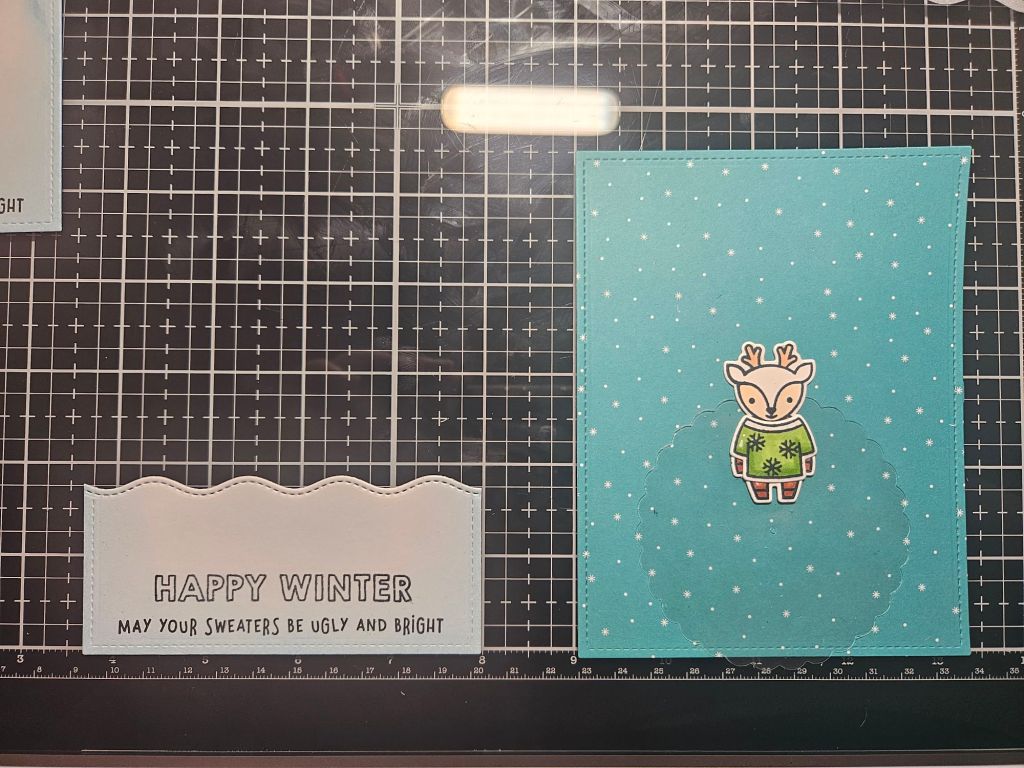
I took this snow border piece that would end up being the bottom of the card and I measured it and made a small mark to find the middle point of the card. If you look closely at the picture below you’ll see the pencil mark I made.
Making sure the wheel was lined up with the center mark on the card, I then took my pencil and made another mark through the tiny hole in the center of the wheel. That way I knew exactly where the middle of the wheel should be.


Then I moved everything out of the way except for the snow border piece and I used a piercing tool to poke a hole through the card right on the mark where my pencil was. I then put a mini brad through that hole.

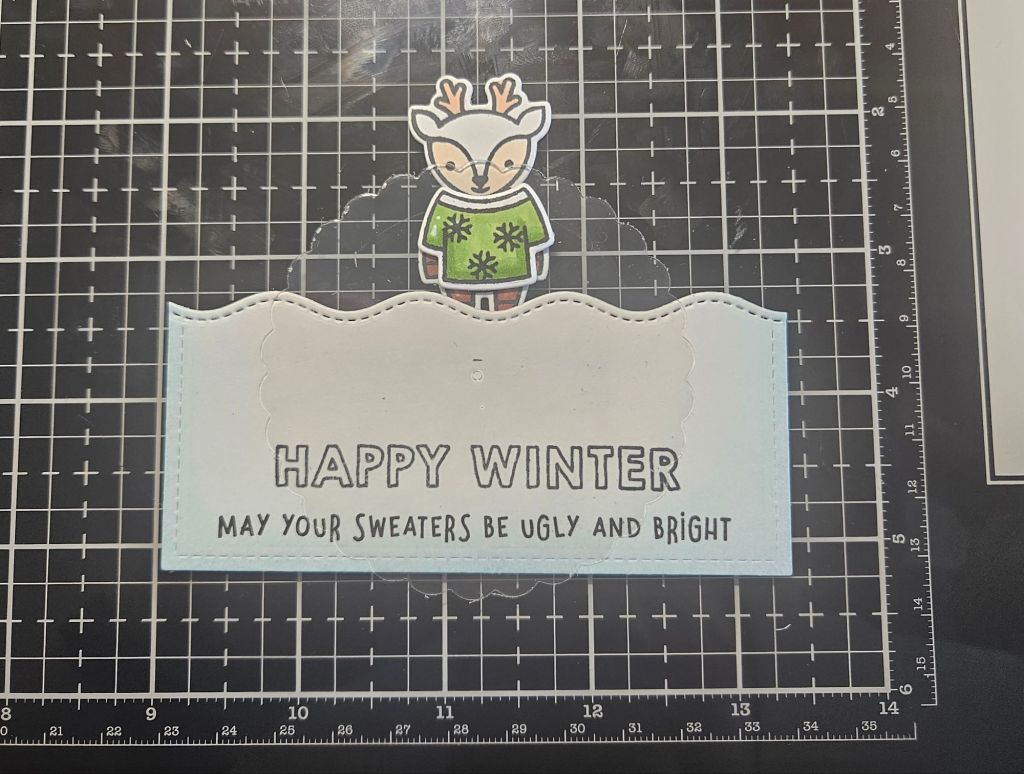
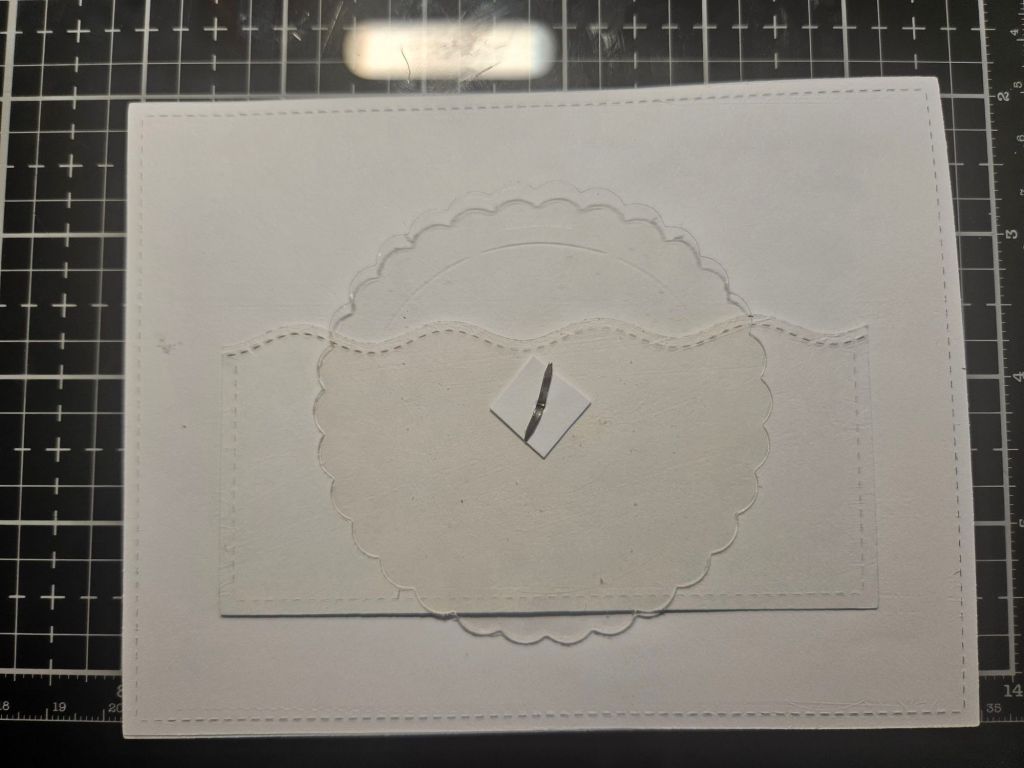
The end result has the head of the mini brad on the front of the card, and then what it’s poking through is first the snow border piece, then the acetate reveal wheel behind that, and then finally the small plain circle backing piece. I cut that backing piece much smaller so that it wouldn’t show through over the top of the snow border piece, as you can see in the picture below.

Finally I laid that snow piece down with the reveal wheel now attached to it and then placed the reindeer behind it to see where it should go. When I had it in the right spot I just lifted off the reveal wheel, made a pencil mark where the reindeer feet should go, and then glued the reindeer down to the background piece.
(For this card you cut out 2 reindeer, one for the body like you see above and then a second that you use for just the face. You end up cutting out the face and placing it directly over the bottom one at the end, so that as the reveal wheel turns and runs right over his face, it’s covered up by that second face piece that you attach above it.)
I hope that helps explain the most technical part of this card. All of the supplies can be found at the link above from last year’s version, except I didn’t use the giant tree this time like I mentioned.
I made 2 of these cards this year and they were a big hit with the recipients. It’s a great design if you have someone you want to wow with an awesome card!
